
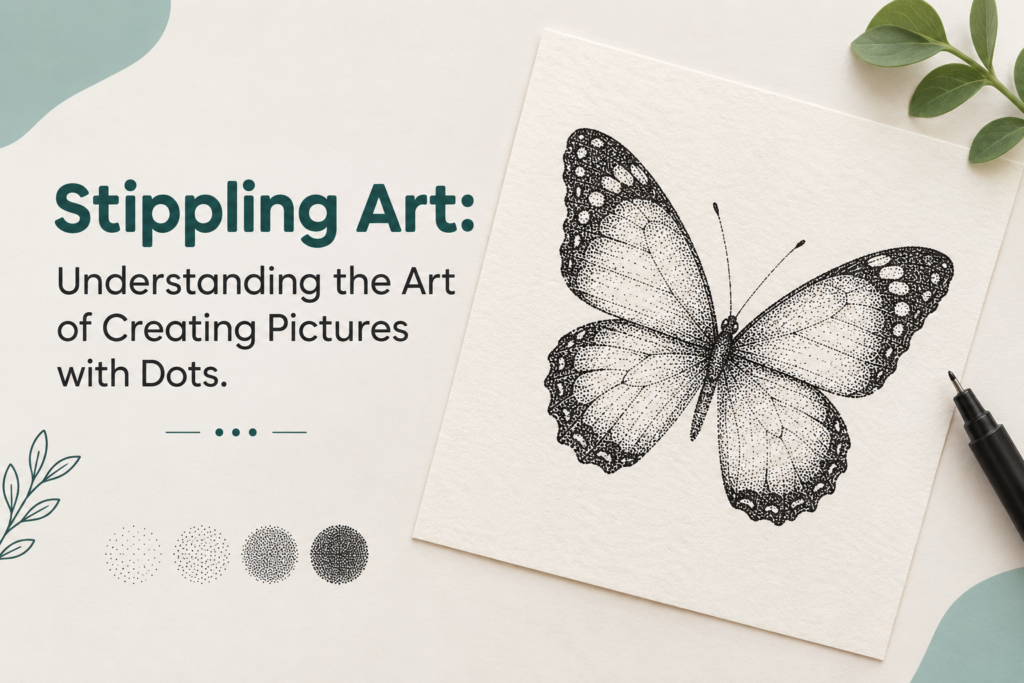
Art can be created in countless ways. While many artists use brushes, colors, and flowing strokes, some create detailed pictures using something much simpler: dots. This technique is known as stippling art, a fascinating drawing method where an image is created by placing individual dots on a surface.
At first glance, stippling may look simple, but creating a complete picture from thousands of tiny dots requires patience, observation, and control. The closer or darker the dots are placed, the deeper and darker an area appears. When the dots are spaced farther apart, the area looks lighter. This simple technique can create impressive depth, texture, and shading.
For beginners exploring different forms of handmade art, stippling is an interesting technique to try because it does not require complicated painting equipment. With a pen, paper, and some patience, you can begin creating your own dotted artwork. Creative art communities and platforms such as Rang Chitra Corner can also provide inspiration for exploring different traditional and contemporary approaches to artwork.
What Is Stippling Art?
Stippling is a drawing technique that uses small individual dots to create an image. Instead of using continuous lines or brush strokes to form shadows and details, the artist builds the picture gradually by controlling the number, size, and placement of dots.
A darker section may contain many closely placed dots, while a lighter section may contain fewer dots with more space between them. By carefully changing the density of the dots, an artist can create the appearance of light, shadow, texture, and three-dimensional form.
Stippling can be used for portraits, animals, plants, landscapes, patterns, objects, and abstract designs. It can also be combined with line drawing, creating artwork that has both detailed outlines and dotted shading.
Why Is Stippling Different from Regular Drawing?
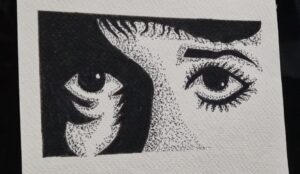
Traditional drawing often depends on lines, strokes, and shading techniques. Stippling takes a different approach. Instead of drawing a shadow with a continuous pencil stroke, an artist creates that shadow using hundreds or even thousands of individual dots.
The technique is based heavily on dot density. This means that the arrangement of dots affects how the viewer sees the final image.
For example:
- Few dots + more space = lighter area
- More dots + less space = darker area
- Gradual change in dot density = smooth-looking shading
- Different dot sizes = variation in texture
This makes stippling both a creative and technical form of drawing.
Materials Needed for Stippling Art
One of the advantages of stippling is that beginners do not need a large collection of art supplies.
You can start with:
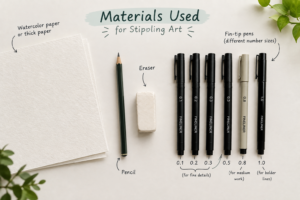
- Smooth drawing or cartridge paper
- Fine-tip black pen
- Pencil for a light initial sketch
- Eraser
- Ruler, if needed
- Reference image
- Optional fine-liner pens with different nib sizes
A smooth paper surface is particularly helpful because it allows the pen to create clean and consistent dots.
Steps to Start Stippling Art as a Beginner
If you are trying stippling for the first time, avoid starting with an extremely complicated portrait or detailed scene. Begin with a simple object and gradually increase the difficulty.
| Step | What to Do | Beginner Tip |
| 1. Choose a Simple Subject | Select a leaf, flower, fruit, eye, or simple object. | Start with something that has clear shapes. |
| 2. Select Your Paper | Use smooth, good-quality drawing paper. | Avoid rough paper when practicing fine dots. |
| 3. Make a Light Sketch | Draw the basic outline with a pencil. | Keep the lines light so they can be erased later. |
| 4. Identify Light and Dark Areas | Observe where shadows and highlights appear. | Mark darker areas lightly with your pencil. |
| 5. Start Making Dots | Begin adding small dots with your pen. | Keep your hand relaxed and avoid rushing. |
| 6. Build the Shadows | Increase dot density in darker areas. | Add dots gradually instead of making an area dark immediately. |
| 7. Work on Mid-Tones | Use fewer dots around the transition between light and dark. | Keep checking your reference image. |
| 8. Add Fine Details | Finish small textures and important features. | Use a finer pen for delicate areas. |
| 9. Erase Pencil Lines | Remove visible guidelines after the ink is completely dry. | Erase gently to avoid damaging the paper. |
| 10. Review Your Artwork | Look at the complete image from a little distance. | Add dots only where additional depth is needed. |
How to Control Light and Shadow with Dots
Shading is one of the most important parts of stippling art. Beginners often make the mistake of filling dark areas too quickly. Instead, think of shading as a gradual process.
Start with a small number of dots and slowly increase their density. Step back from your artwork occasionally to see how the dots combine visually.
For very dark areas, the dots can be placed close together. For highlights, leave more of the paper visible. The white space becomes part of the artwork and helps create contrast.
Practicing this technique on a simple sphere can be especially useful. Try creating a sphere with a light area on one side and gradually increase the dot density toward the shadowed side.
Common Mistakes Beginners Should Avoid
Stippling rewards patience, so rushing can affect the final result. Some common mistakes include pressing too hard with the pen, making dots inconsistent, darkening areas too quickly, and using rough paper.
Another common problem is focusing too closely on individual dots. Remember that the dots work together to create the overall image. Take breaks and view your artwork from a distance to understand how the shading is developing.
It is also important not to compare your first stippling drawing with highly detailed artworks created by experienced artists. Your first goal should be learning how dot density, spacing, and direction affect the appearance of an image.
How to Practice Stippling Effectively
The best way to improve is through small, regular exercises. Try filling small squares with different dot densities. Create one square with widely spaced dots, another with medium-density dots, and another with closely packed dots.
You can also practice creating simple gradients by slowly increasing the number of dots from one side to the other. Once you become comfortable with this, move on to basic objects and eventually more detailed subjects.
Exploring different forms of handmade and visual art can also help beginners discover new ways to experiment with texture and composition. Stippling can become a unique addition to a personal art practice and can be used to create decorative pieces, illustrations, and detailed artworks.
Final Thoughts
Stippling art shows how something as simple as a dot can become part of a detailed and expressive artwork. By changing the spacing, density, and size of dots, artists can create shadows, textures, highlights, and depth without relying on traditional brush strokes.
For beginners, the most important things are patience, consistency, and practice. You do not need to create a complicated masterpiece on your first attempt. Start with simple shapes, understand how light and dark areas work, and slowly build your confidence.
As you practice, you will begin to see how individual dots come together to form complete pictures. That is the beauty of stippling the artwork is not created with one continuous stroke, but with countless small decisions that gradually become a finished image.
Do Visit : https://rangchitracorner.com/understanding-mandala-art-origins-symbolism-beauty/